Lettering for Holiday Projects - Linda Schneider - Chalkboard Art & Lettering
Linda SchneiderChalkboard Art & Lettering Linda takes us through the steps to create attractive chalkboard art and lettering. It’s so easy a 5th grader can do it! Basic Supplies: A smile P…
Read MoreDescription
Linda Schneider
Chalkboard Art & Lettering
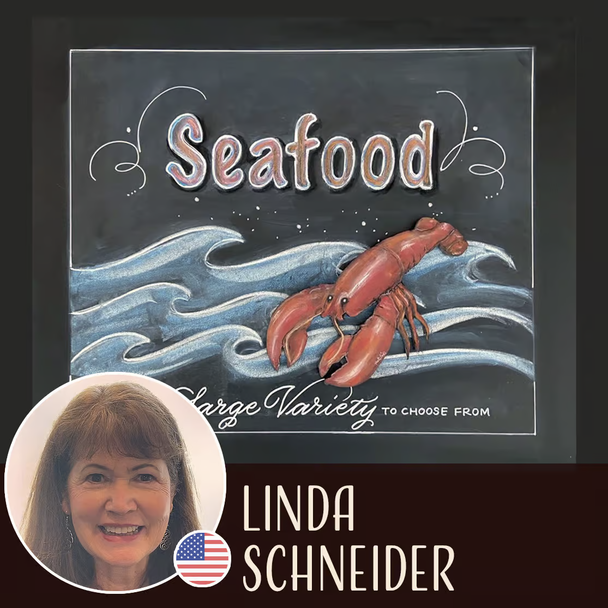
Linda takes us through the steps to create attractive chalkboard art and lettering. It’s so easy a 5th grader can do it!
Basic Supplies:
- A smile
- PL38, P25. Pencil and Paper to sketch rough-drafts and to use later for creative designs.
- Ball point pen (for transferring image on to board
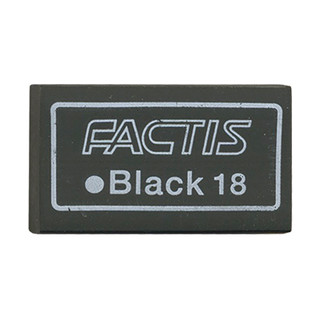
- E08. Eraser (black eraser)
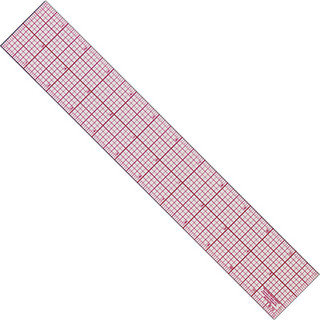
- S798. C-Thru ruler - 2” x 12” or 2” x 18”
- S417. Utility knife or X-Acto® #11 blade & holder (for trimming board and foam core)
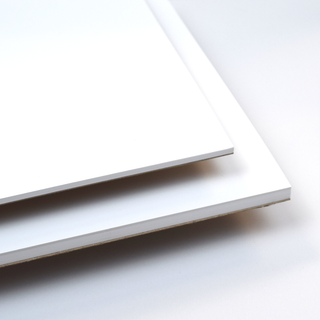
- Black Foamcore® board 1/4” or less
Chalkboard Options:
- Store bought and ready, or make your own: Smooth board, or 3D objects or a surface like a wall, black foam board, etc. Use black or gray paper and frame your chalk piece later.
- Chalk spray paint (Linda’s favorite is Rustoleum brand which has a little more tooth and not so smooth.
- Liquid chalk markers - Marvey Uchida Bistro® Chalk Marker
- White chalk sticks - Crayola white sidewalk chalk for seasoning for making the board a light gray. Seasoning makes it easier to erase and adding shadows for a 3D look on your lettering on your chalkboard.
- Colored Chalk - Linda’s favorites are General Chalk Pencils and Prismacolor Nupastels, and any soft pastels.
- Rubber gloves (use when spraying)
- S1046. Scotch® Magic tape to temporarily position art onto board.
- Double-sided tape or foam sticky back squares to adhere 3-D cut-out images onto chalkboard.
- Photocopies of image(s) and lettering enlarged or reduced to transfer to surface of choice. You may also free hand your lettering and art!
- Rag or paper towels to soften or erase lettering or images and to wipe off excess chalk after priming the chalkboard.

